 Save
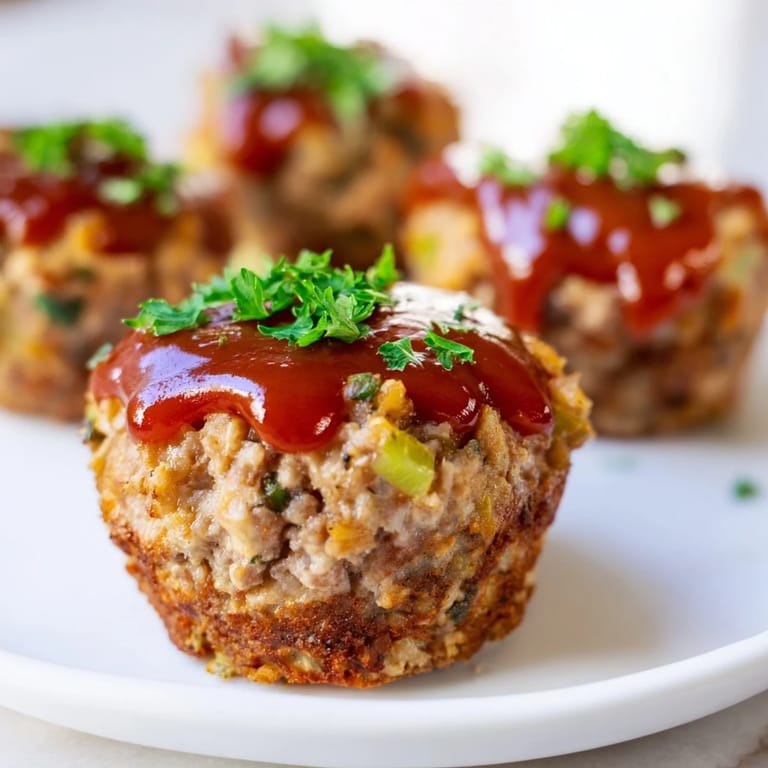
Save My neighbor brought over these miniature meatloaves on a Tuesday evening when I was buried under deadlines, and I instantly understood why she kept raving about them. The sweet-savory maple-mustard glaze caught me off guard—I'd never thought to pair that combination with something so straightforward—and somehow they tasted like comfort wrapped in sophistication. Now they're my answer to every potluck, weeknight scramble, and moment when I need something that looks more intentional than it actually is to prepare.
I remember serving these at a small dinner party where someone's uncle (the picky type) grabbed three without asking what they were, then went quiet mid-bite. He asked for the recipe before dessert even arrived, which felt like winning some kind of kitchen lottery. That's when I realized these weren't just convenient—they actually impressed people in a way that felt earned.
Ingredients
- Ground beef (85% lean): The fat content matters here—it keeps everything moist instead of dense, so resist the temptation to grab the leanest option your butcher has.
- Breadcrumbs and milk: This combination acts like a sponge, holding moisture throughout cooking and preventing that rubbery texture that ruins bad meatloaf.
- Egg: Your binding agent and the thing that holds everything together when you're tempted to overmix.
- Onion, celery, and garlic: The aromatic trio that whispers flavor into every bite without announcing itself loudly.
- Fresh parsley: A small touch that somehow makes people think you're more careful in the kitchen than you are.
- Worcestershire sauce: The secret umami boost that makes people ask if there's something special in the meat mixture.
- Salt, pepper, and thyme: Keep the seasoning gentle—these meatloaves don't need to shout.
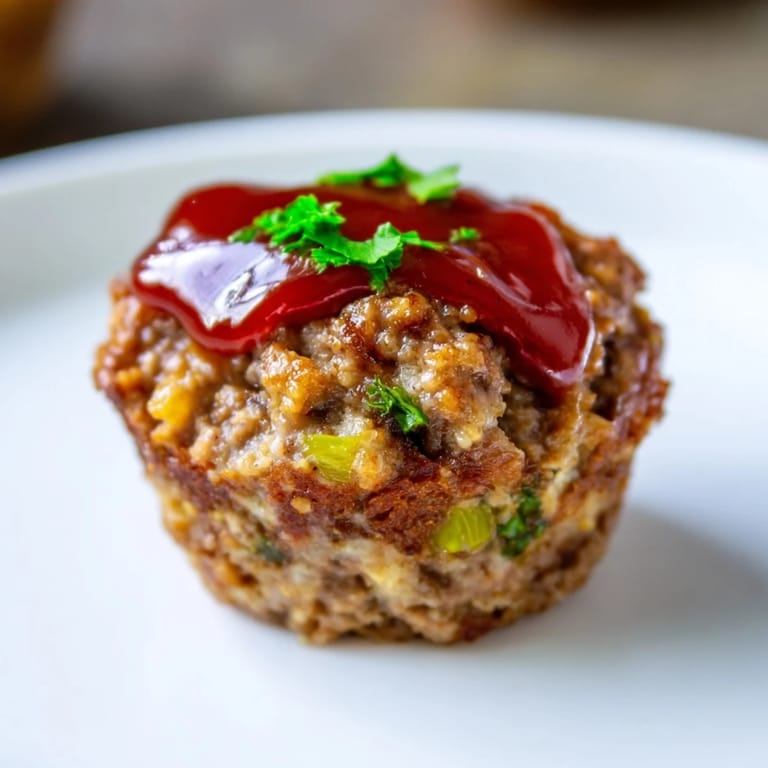
- Maple syrup, Dijon mustard, and ketchup: Together they create that glossy, sophisticated glaze that looks restaurant-quality and tastes like a happy accident.
Tired of Takeout? 🥡
Get 10 meals you can make faster than delivery arrives. Seriously.
One email. No spam. Unsubscribe anytime.
Instructions
- Set up and prep:
- Preheat your oven to 375°F and grease a 12-cup muffin tin with a light touch of oil or cooking spray. You want the tins ready to go so the meat mixture doesn't sit around waiting.
- Soften the breadcrumbs:
- In a large bowl, combine breadcrumbs with milk and let them sit quietly for 3 minutes—this matters more than you'd think, as it lets the crumbs absorb the liquid instead of drying out your meatloaves later.
- Build the mixture:
- Add beef, egg, vegetables, herbs, and seasonings to the breadcrumb mixture, then mix gently with your hands until everything is just combined. Stop the moment it looks unified—overmixing is the enemy and will make them tough.
- Fill the tins:
- Divide the meat mixture evenly among the muffin cups, pressing lightly so each one is snug but not compacted. Aim for consistency so they all finish cooking at the same time.
- Make the glaze:
- In a small bowl, whisk together maple syrup, Dijon mustard, and ketchup until smooth and glossy.
- First glaze application:
- Spoon or brush half the glaze over each meatloaf, coating the tops evenly—this will caramelize slightly during the first bake.
- First bake:
- Bake for 20 minutes, during which time the meat will cook through most of the way and the glaze will set into a thin crust.
- Second glaze and finish:
- Remove from the oven, brush the remaining glaze on top, then return for another 5 minutes until the internal temperature hits 160°F and the glaze is sticky and dark at the edges.
- Rest and serve:
- Let them cool for 5 minutes so the glaze sets properly, then run a knife around each one to loosen before lifting out.
 Save
Save These became my go-to answer when my sister asked what to bring to a work potluck where no one knew each other yet. She reported back that people kept asking if she'd made them from scratch, and watching her confidence grow from that small kitchen success was oddly moving.
Why the Muffin Tin Matters
Using a muffin tin instead of freeforming these on a baking sheet changed everything about how I approached meatloaf. Each cup creates a natural boundary that prevents spreading, ensures even cooking, and gives you perfectly uniform bites without any awkward shaping. The sides brown gently while the top catches the glaze properly, and there's something deeply satisfying about having exactly twelve identical portions with zero planning.
The Glaze Is Everything
The maple-mustard combination sounds simple until you taste it, and then you realize that's precisely why it works. The mustard's sharpness cuts through the beef's richness while the maple syrup brings warmth and a subtle caramelization that makes these feel special. Applying it in two stages—halfway through and at the end—means the first layer sets into the meat while the second stays glossy and visible on top, creating layers of flavor that a single application would never achieve.
Storage and Make-Ahead Strategy
I've learned to make these on quiet Sunday afternoons and portion them into containers for the hectic days ahead. They're just as good reheated gently in a 300°F oven for 10 minutes, and freezing them cooked means you're always five minutes away from a solid dinner. The glaze holds up beautifully through refrigeration and freezing, so no compromise on flavor when life gets busy.
- Store in an airtight container in the fridge for up to three days, or freeze for up to two months without any noticeable quality loss.
- Reheat gently in a low oven rather than the microwave if you can spare ten minutes—it keeps the glaze intact and the texture tender.
- Thaw frozen meatloaves overnight in the fridge if you're planning ahead, or reheat them straight from frozen at 325°F for about 20 minutes.
 Save
Save These little meatloaves taught me that convenience and genuine deliciousness aren't mutually exclusive. They're the kind of recipe that makes people happy without requiring you to spend hours in the kitchen.
Recipe FAQs
- → What type of meat works best for these bites?
Ground beef with 85% lean content is ideal for moisture and flavor, but ground turkey or chicken can be used for a lighter option.
- → Can I prepare these mini meatloaf bites in advance?
Yes, they can be refrigerated for up to 3 days or frozen for up to 2 months, perfect for meal prepping.
- → How do I ensure the bites stay moist after baking?
Mix the ingredients gently without overmixing and allow the bites to rest for 5 minutes after baking to retain juiciness.
- → Can I customize the glaze for a different flavor?
Absolutely, try adding hot sauce or smoked paprika to the glaze for an extra kick.
- → What is the recommended cooking temperature and time?
Bake at 375°F (190°C) for 20 minutes, brush with glaze, then bake an additional 5 minutes until cooked through.
- → Are there any common allergens to be aware of?
The bites contain eggs, gluten from breadcrumbs, and possibly dairy from milk; alternatives can be used to suit dietary needs.