 Save
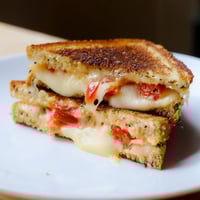
Save I was skeptical the first time someone handed me a pizza with a cauliflower crust. It sounded like one of those health trends that sacrifices flavor for virtue. But one bite in, with the edges crispy and golden, the center firm enough to hold a generous pile of toppings, I was completely won over. This wasn't a compromise. It was just really good pizza that happened to be made from vegetables.
The night I made this for friends who were trying to eat lighter, I didn't tell them what it was made of until after they'd finished their slices. One of them went back for seconds, then thirds, before I finally admitted there wasn't a speck of flour involved. The look on his face was priceless. He kept saying it tasted too good to be healthy, as if that were somehow a bad thing.
Ingredients
- Cauliflower florets (650 g): The star of the show. Choose a firm, fresh head with tight florets. Older cauliflower can taste bitter and won't bind as well.
- Egg (1 large): This is your binder. It holds everything together and gives the crust structure. Don't skip it or try to substitute with water.
- Mozzarella cheese (60 g): Adds moisture, flavor, and that stretchy, pizza-like texture. Use the block kind and grate it yourself for better melting.
- Parmesan cheese (30 g): Brings a sharp, salty depth that makes the crust taste more like bread. Freshly grated works best.
- Dried oregano (½ tsp): A little goes a long way. This is what makes it smell like pizza from the moment it hits the oven.
- Garlic powder (½ tsp): Adds warmth and a subtle savory note. Fresh garlic can burn, so powder is safer here.
- Salt and black pepper: Essential for bringing out all the other flavors. Don't be shy with the seasoning.
Tired of Takeout? 🥡
Get 10 meals you can make faster than delivery arrives. Seriously.
One email. No spam. Unsubscribe anytime.
Instructions
- Preheat and Prep:
- Set your oven to 220°C (425°F) and line a baking sheet with parchment paper. This high heat is what gives you that golden, crispy edge.
- Rice the Cauliflower:
- Pulse the florets in a food processor until they look like grains of rice. Don't overdo it or you'll end up with mush.
- Cook the Cauliflower:
- Microwave the riced cauliflower for 4 to 5 minutes until it's soft and tender. Let it cool for a few minutes so you don't burn your hands in the next step.
- Squeeze Out the Moisture:
- This is the most important step. Wrap the cauliflower in a clean kitchen towel and wring it out like your life depends on it. The drier it is, the crispier your crust will be.
- Mix the Dough:
- Combine the cauliflower with the egg, cheeses, oregano, garlic powder, salt, and pepper. Stir until it forms a sticky, cohesive dough.
- Shape the Crust:
- Spread the mixture onto your prepared baking sheet, shaping it into a round or rectangle about half a centimeter thick. Keep the edges a little thicker so they don't burn.
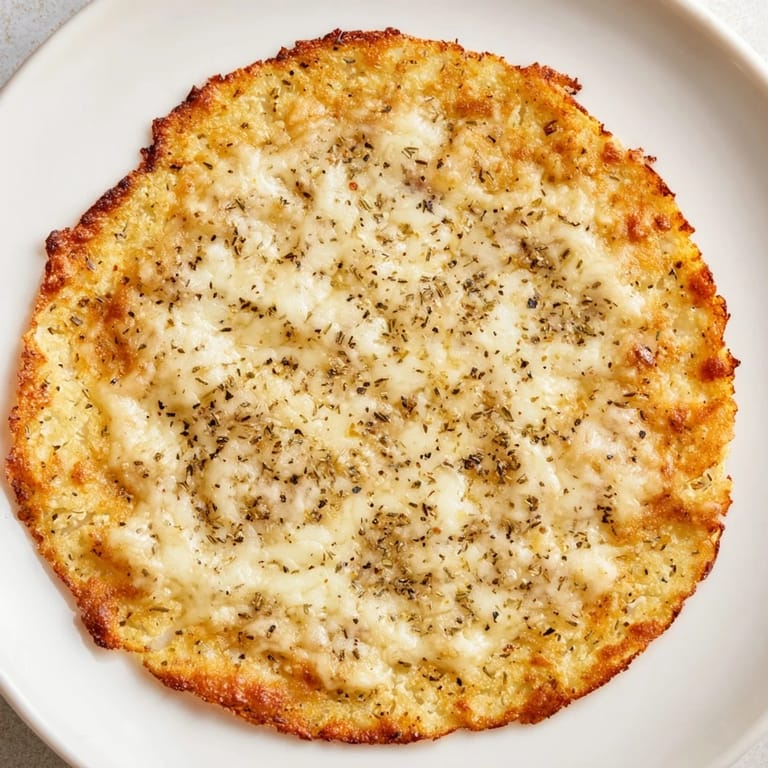
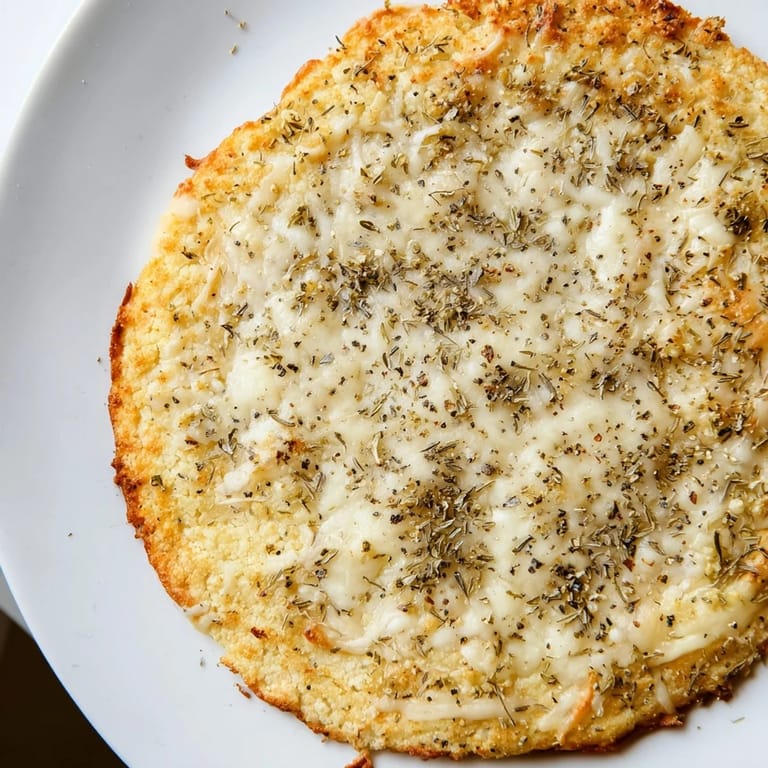
- Bake Until Golden:
- Bake for 20 to 25 minutes until the crust is firm and the edges are deeply golden. It should look like it could stand on its own.
- Add Toppings and Finish:
- Pull it out, add your sauce, cheese, and toppings, then bake for another 5 to 8 minutes. The cheese should be bubbly and starting to brown in spots.
- Slice and Serve:
- Let it cool for a minute, then slice it up and enjoy. It's best eaten hot, right out of the oven.
 Save
Save There's something deeply satisfying about pulling a golden, bubbling pizza out of the oven and knowing it's made mostly of vegetables. It's the kind of dish that makes you feel like you've cracked a code, like you've figured out how to have your pizza and feel good about it too. And honestly, that's a rare and wonderful thing.
How to Make It Even Crispier
If you want an extra-crispy crust, try baking it on a preheated pizza stone instead of a baking sheet. The stone distributes heat more evenly and pulls moisture away from the dough. You can also brush the edges lightly with olive oil before the final bake. It adds a little richness and helps the crust brown beautifully.
Topping Ideas That Actually Work
This crust pairs well with classic margherita toppings, but it also holds up to heartier combinations like sautéed mushrooms, caramelized onions, and goat cheese. I've also done a white pizza version with ricotta, spinach, and a drizzle of garlic oil. Just avoid anything too wet, like fresh tomatoes, unless you pat them dry first.
Storage and Reheating
Leftovers keep in the fridge for up to three days. Reheat slices in a hot oven or a skillet to bring back the crispness. Microwaving will make it soggy, so avoid that if you can. You can also freeze the baked crust (without toppings) for up to a month and just add toppings when you're ready to eat.
- Wrap the cooled crust tightly in plastic wrap before freezing to prevent freezer burn.
- Thaw it in the fridge overnight, then crisp it up in the oven before adding toppings.
- If you're meal prepping, make two or three crusts at once and freeze them individually.
 Save
Save This crust changed the way I think about pizza night. It's proof that you don't have to give up the things you love to eat a little lighter.
Recipe FAQs
- → How do I prevent the crust from becoming soggy?
Make sure to squeeze out as much moisture as possible from the cooked cauliflower using a kitchen towel or cheesecloth. This step ensures a firm and crisp crust.
- → Can I make this crust vegan?
Yes, by substituting the egg and cheeses with vegan alternatives, you can create a plant-based version while maintaining texture.
- → What cheeses work best in this crust?
Mozzarella and Parmesan provide the best melt and binding properties, contributing to a flavorful and cohesive base.
- → Is this crust suitable for low-carb diets?
Absolutely, cauliflower is a low-carb vegetable, making this base an excellent choice for keto and low-carb eating plans.
- → What cooking tools are essential for preparation?
A food processor is needed to finely pulse the cauliflower, and a microwave to soften it quickly. A clean kitchen towel or cheesecloth helps remove moisture effectively.
- → Can I add toppings before the final bake?
Yes, after baking the crust to firm it up, add your preferred toppings and return to the oven until everything is melted and bubbly.